

Notion Cloud l Storage, Page History, & Trash
Notion is a versatile tool that offers a unique approach to file management, combining cloud storage with workspace organization. In this article, we will delve into Notion's Cloud Storage functionality, explore the process of exporting a Notion workspace, and learn how to retrieve pages within Notion. By mastering these aspects, you can optimize your workflow and make the most out of Notion's capabilities.
Key Takeaways
- Understanding how Notion's Cloud Storage works is essential for efficient file management within the platform.
- Storing files in Notion provides a centralized location for all your documents and resources.
- Exporting a Notion workspace allows you to create backups and share your content externally.
- Exploring the options for workspace exportation gives you flexibility in managing your Notion data.
- Accessing the Trash in Notion enables you to recover deleted pages and content easily.
Understanding Notion's Cloud Storage
How Notion's Cloud Storage Works
Notion's cloud storage operates on a robust and secure infrastructure, ensuring that your data is safely stored and accessible across all your devices. Data synchronization is a key feature, allowing real-time updates to be reflected across the user's account regardless of the platform used.
Files and documents uploaded to Notion are stored in the cloud, which means they do not take up space on your local device. This is particularly beneficial for users who work with large files or operate on devices with limited storage capacity.
- Files are encrypted at rest and in transit
- Notion supports a variety of file types
- There is a file size limit depending on your subscription plan
Notion's cloud storage is not only a place to keep your files but also a collaborative workspace where team members can access and work on documents together.
Understanding the limitations and capabilities of Notion's cloud storage will help you optimize your use of the platform and ensure a smooth workflow.
Storing Files in Notion
In Notion, storing files is as simple as dragging and dropping them into your workspace. Whether it's images, PDFs, or other documents, Notion keeps your files organized within the context of your notes and projects. Files can be attached directly to pages or databases, ensuring that relevant materials are always at your fingertips.
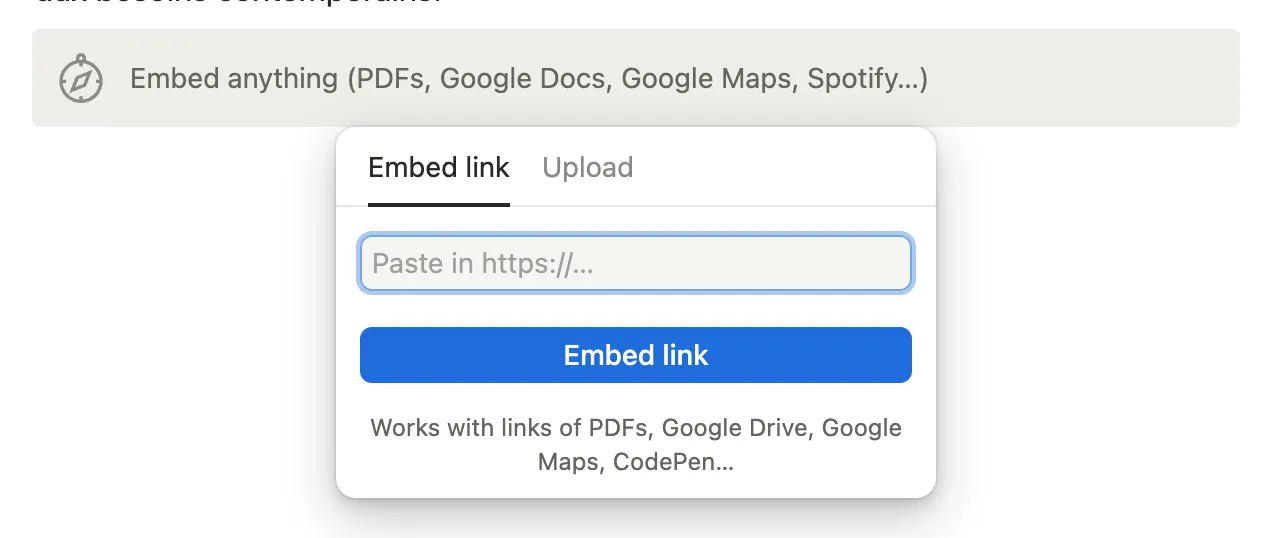
Attachments in Notion are not just limited to static files; you can also embed external content such as videos, maps, and more. This versatility makes Notion a powerful tool for centralizing all your project-related assets.
- To attach a file, simply drag it onto a page.
- For embedding content, use the
/embedcommand and paste the link. - To manage file storage, click on the file and select 'Delete' or 'Download'.
Notion's file management system is designed to be intuitive, allowing users to focus on their work without worrying about where their files are stored.
Notion Storage Limits
Notion offers different storage limits depending on your subscription plan. It's important to be aware of these limitations to effectively manage your files and ensure you have enough space for your needs.
- Free Plan:
- Pages & blocks: Unlimited for individuals, limited block trial for 2+ members
- File uploads: Up to 5 MB
- Page history: 7 days
- Page analytics: Basic
- Plus Plan:
- Pages & blocks: Unlimited
- File uploads: Unlimited
- Page history: 30 days
- Page analytics: Basic
- Business Plan:
- Pages & blocks: Unlimited
- File uploads: Unlimited
- Page history: 90 days
- Page analytics: Advanced
- Enterprise Plan:
- Pages & blocks: Unlimited
- File uploads: Unlimited
- Page history: Unlimited
- Page analytics: Advanced
If you find that you're reaching your storage limits, you have a few options. You can choose to delete unnecessary content or files to free up space. Alternatively, you can upgrade to a higher subscription plan that offers more storage capacity.
Exporting a Notion Workspace
Process of Exporting a Notion Workspace
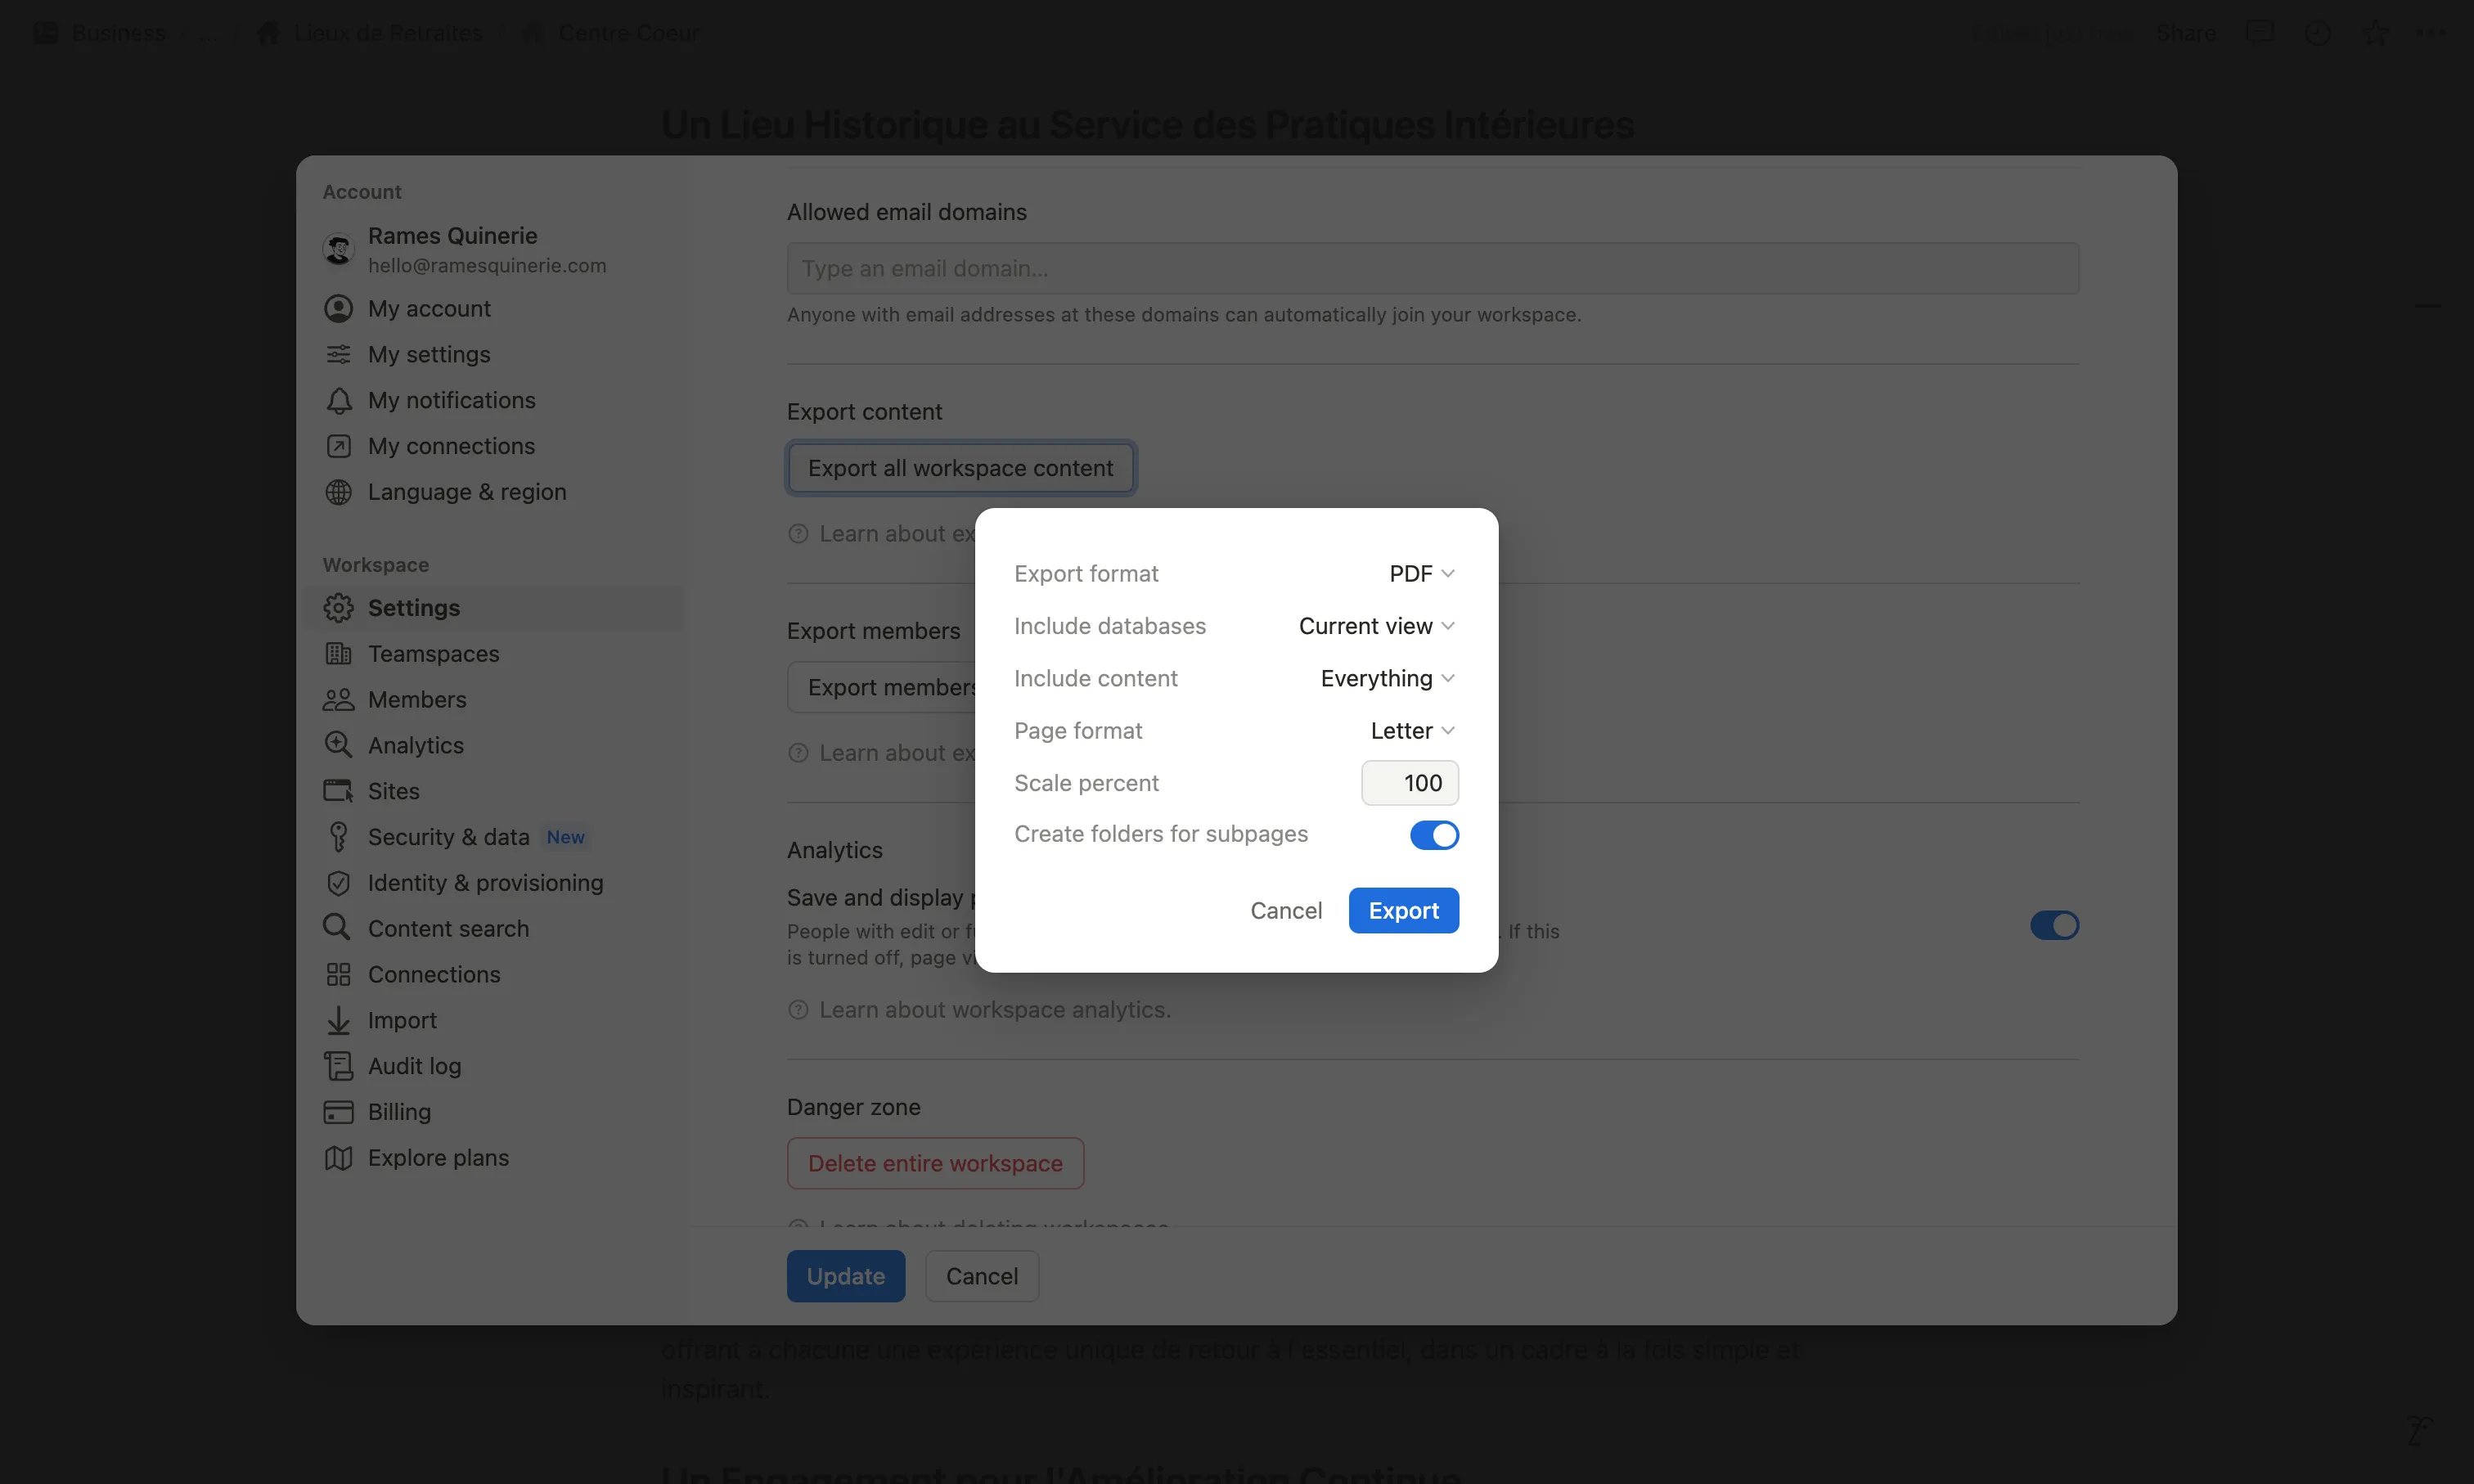
The process of exporting a Notion workspace is straightforward and can be initiated by any user with administrative privileges. To begin the export, navigate to Settings → Workspace settings → Select the 'Export all workspace content' option. This will prompt a series of choices regarding the format and content of the export.
Export formats include Markdown & CSV, HTML, and PDF. Each format serves a different purpose, with Markdown & CSV being ideal for data portability and HTML for web compatibility. PDF exports are best for presentations or physical copies. It's important to choose the format that aligns with your intended use of the exported data.
- Markdown & CSV
- HTML
The export process can take several minutes to hours, depending on the size of your workspace. Notion will send an email with a download link once the export is ready, ensuring that you can access your data even if you step away from your computer.
Remember to review the exported files for completeness and accuracy, as this will be a snapshot of your workspace at the time of exportation.
Options for Workspace Exportation
When exporting your Notion workspace, you have several options to tailor the export to your needs. Choose the format that best suits your future use, whether it's for backup purposes, migration to another platform, or sharing with non-Notion users.
It's important to consider the size and complexity of your workspace when selecting an export format. Larger workspaces may take longer to export and could require more storage space.
Remember that the export will contain all the content from the workspace, including all pages, blocks, and embedded files. This ensures a comprehensive backup of your data, but also means you should be mindful of any sensitive information contained within.
Retrieving Pages in Notion
Accessing the Trash in Notion
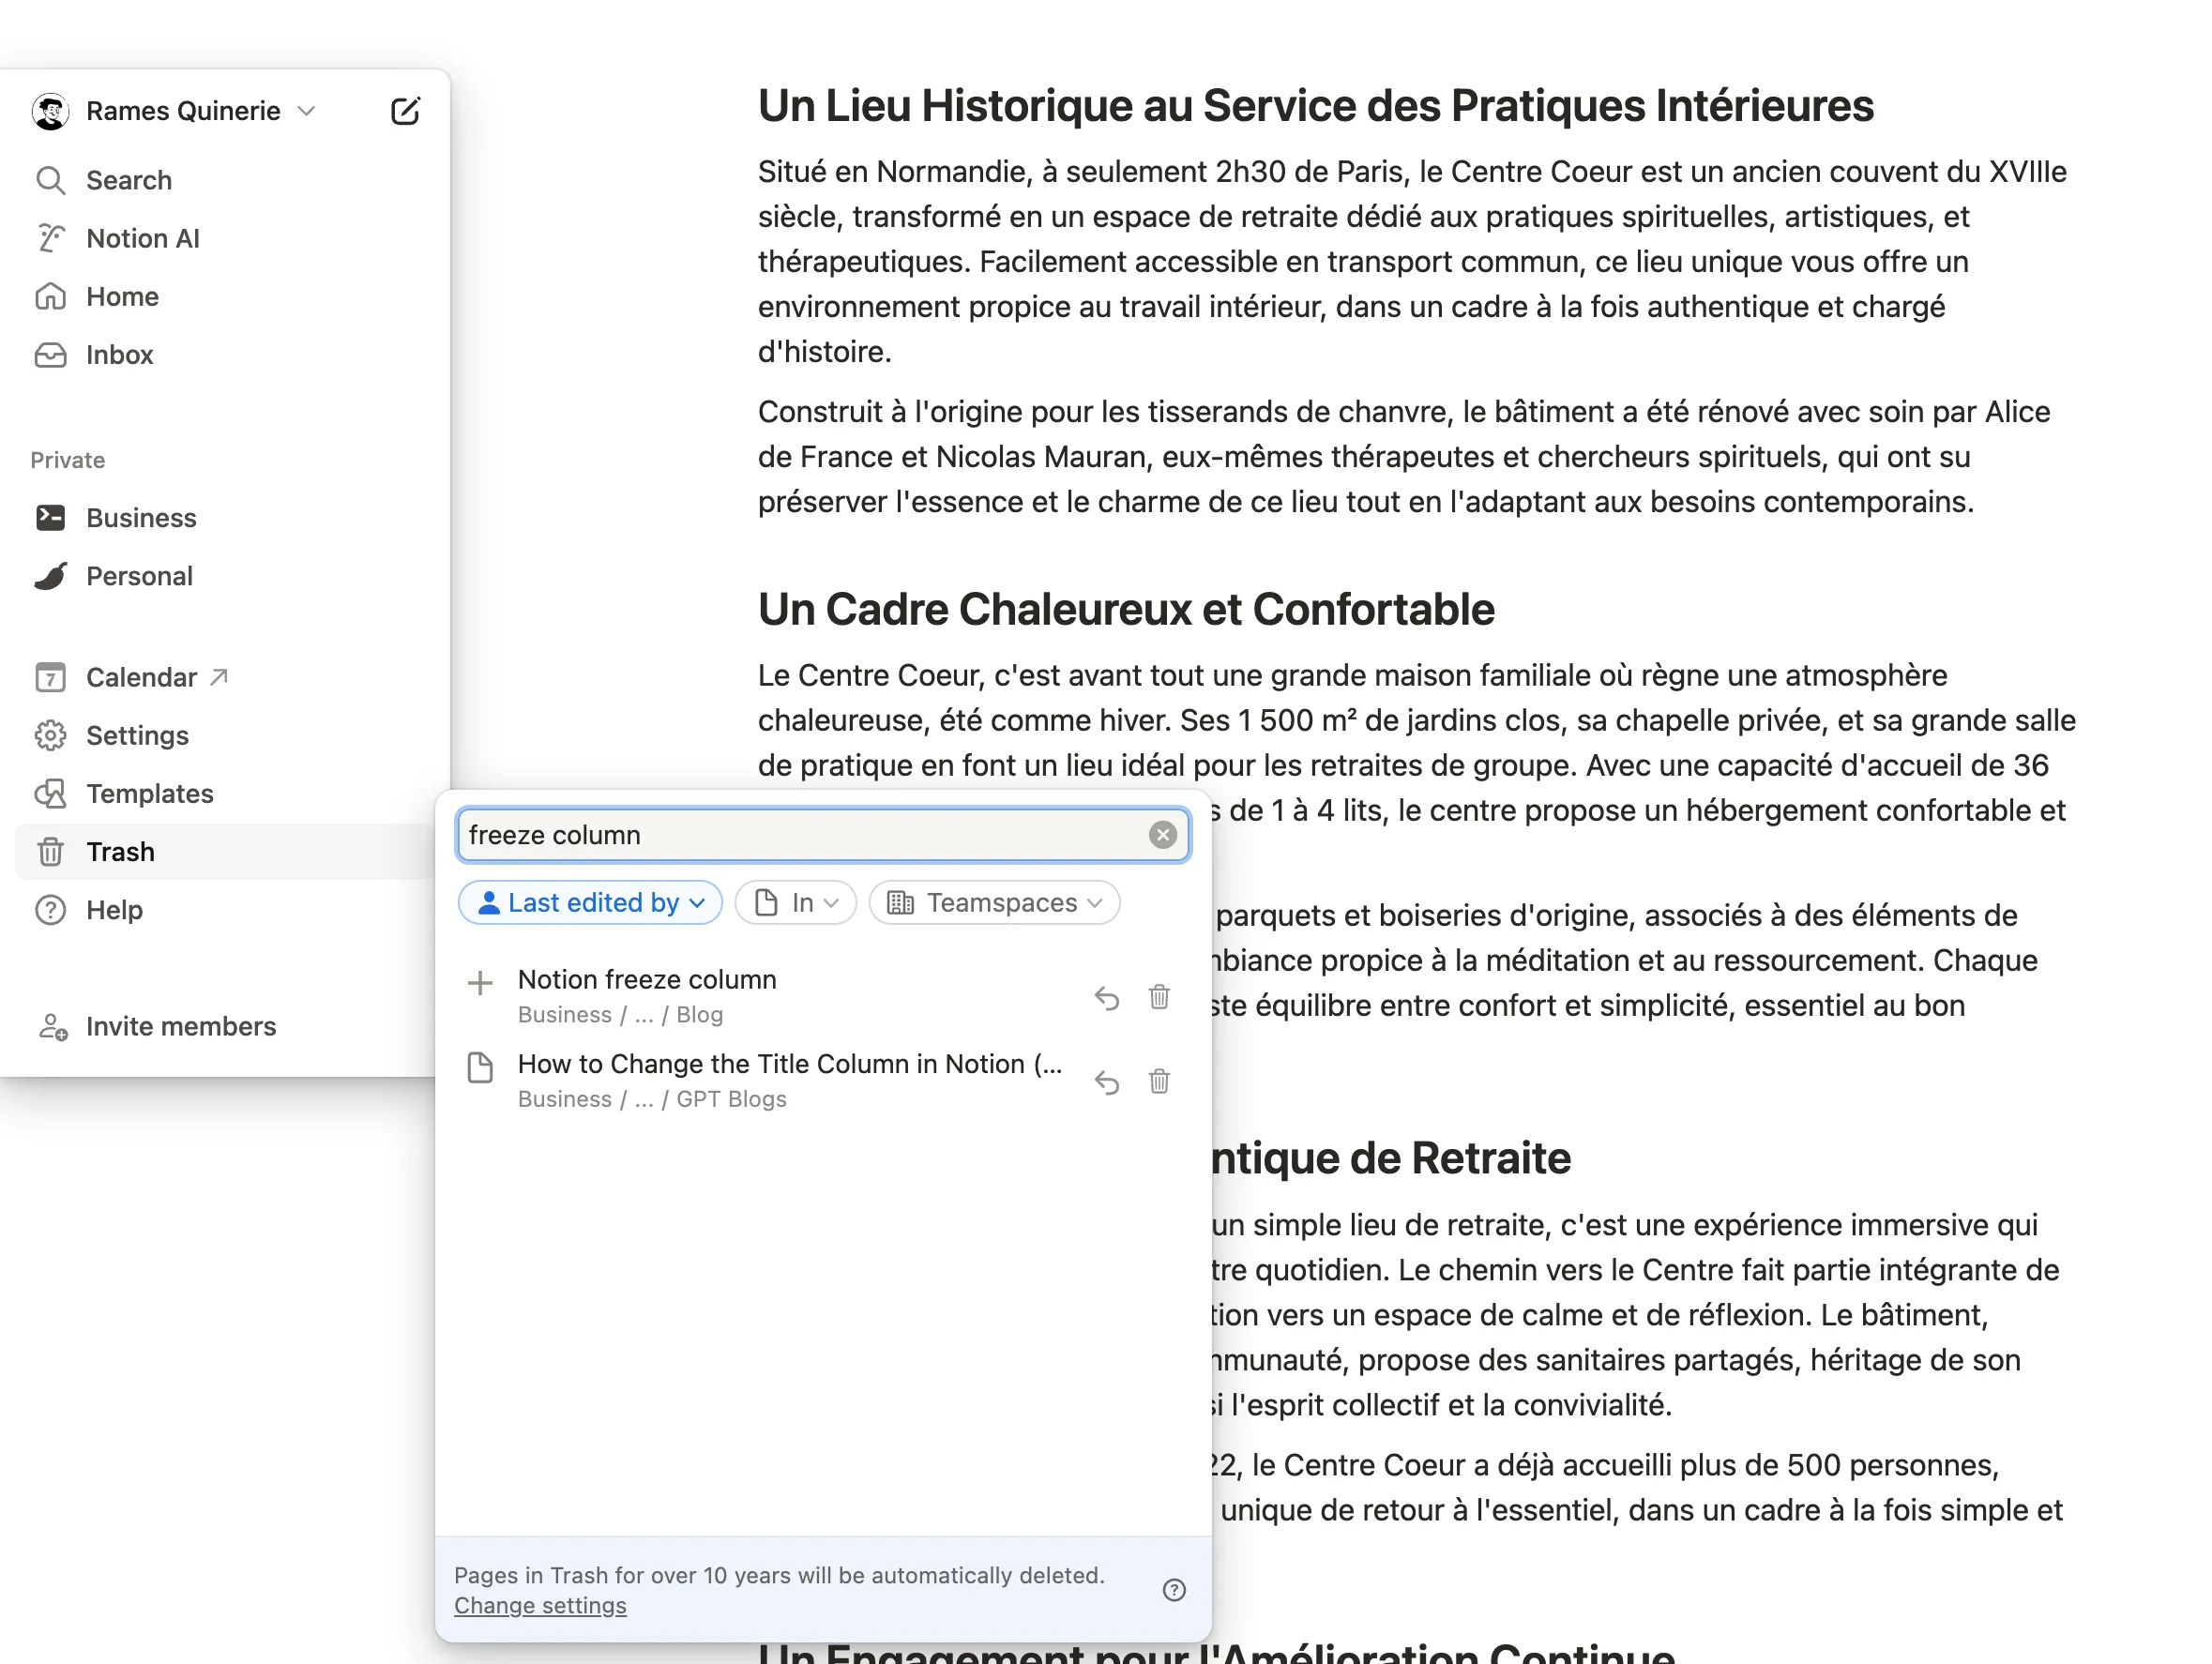
In Notion, deleted pages are not immediately lost forever. Instead, they are moved to the Trash section, where they can be recovered or permanently deleted. Accessing the Trash is a straightforward process that can save you from accidental deletions.
To retrieve a page from the Trash, follow these steps:
- Select
Trashfrom the left sidebar. - Browse through the list of deleted pages (there’s also a search function)
- Click on the page you wish to restore.
- Choose
Restoreto move the page back to its original location orDelete from Trashto remove it permanently.
Remember, pages left in the Trash will be automatically purged after a certain period, so it's important to regularly check and manage your deleted content. By default, pages remain in the Trash for 30 days before automatic deletion. Enterprise plan workspace owners have the option to customize these retention settings.
Viewing Page History
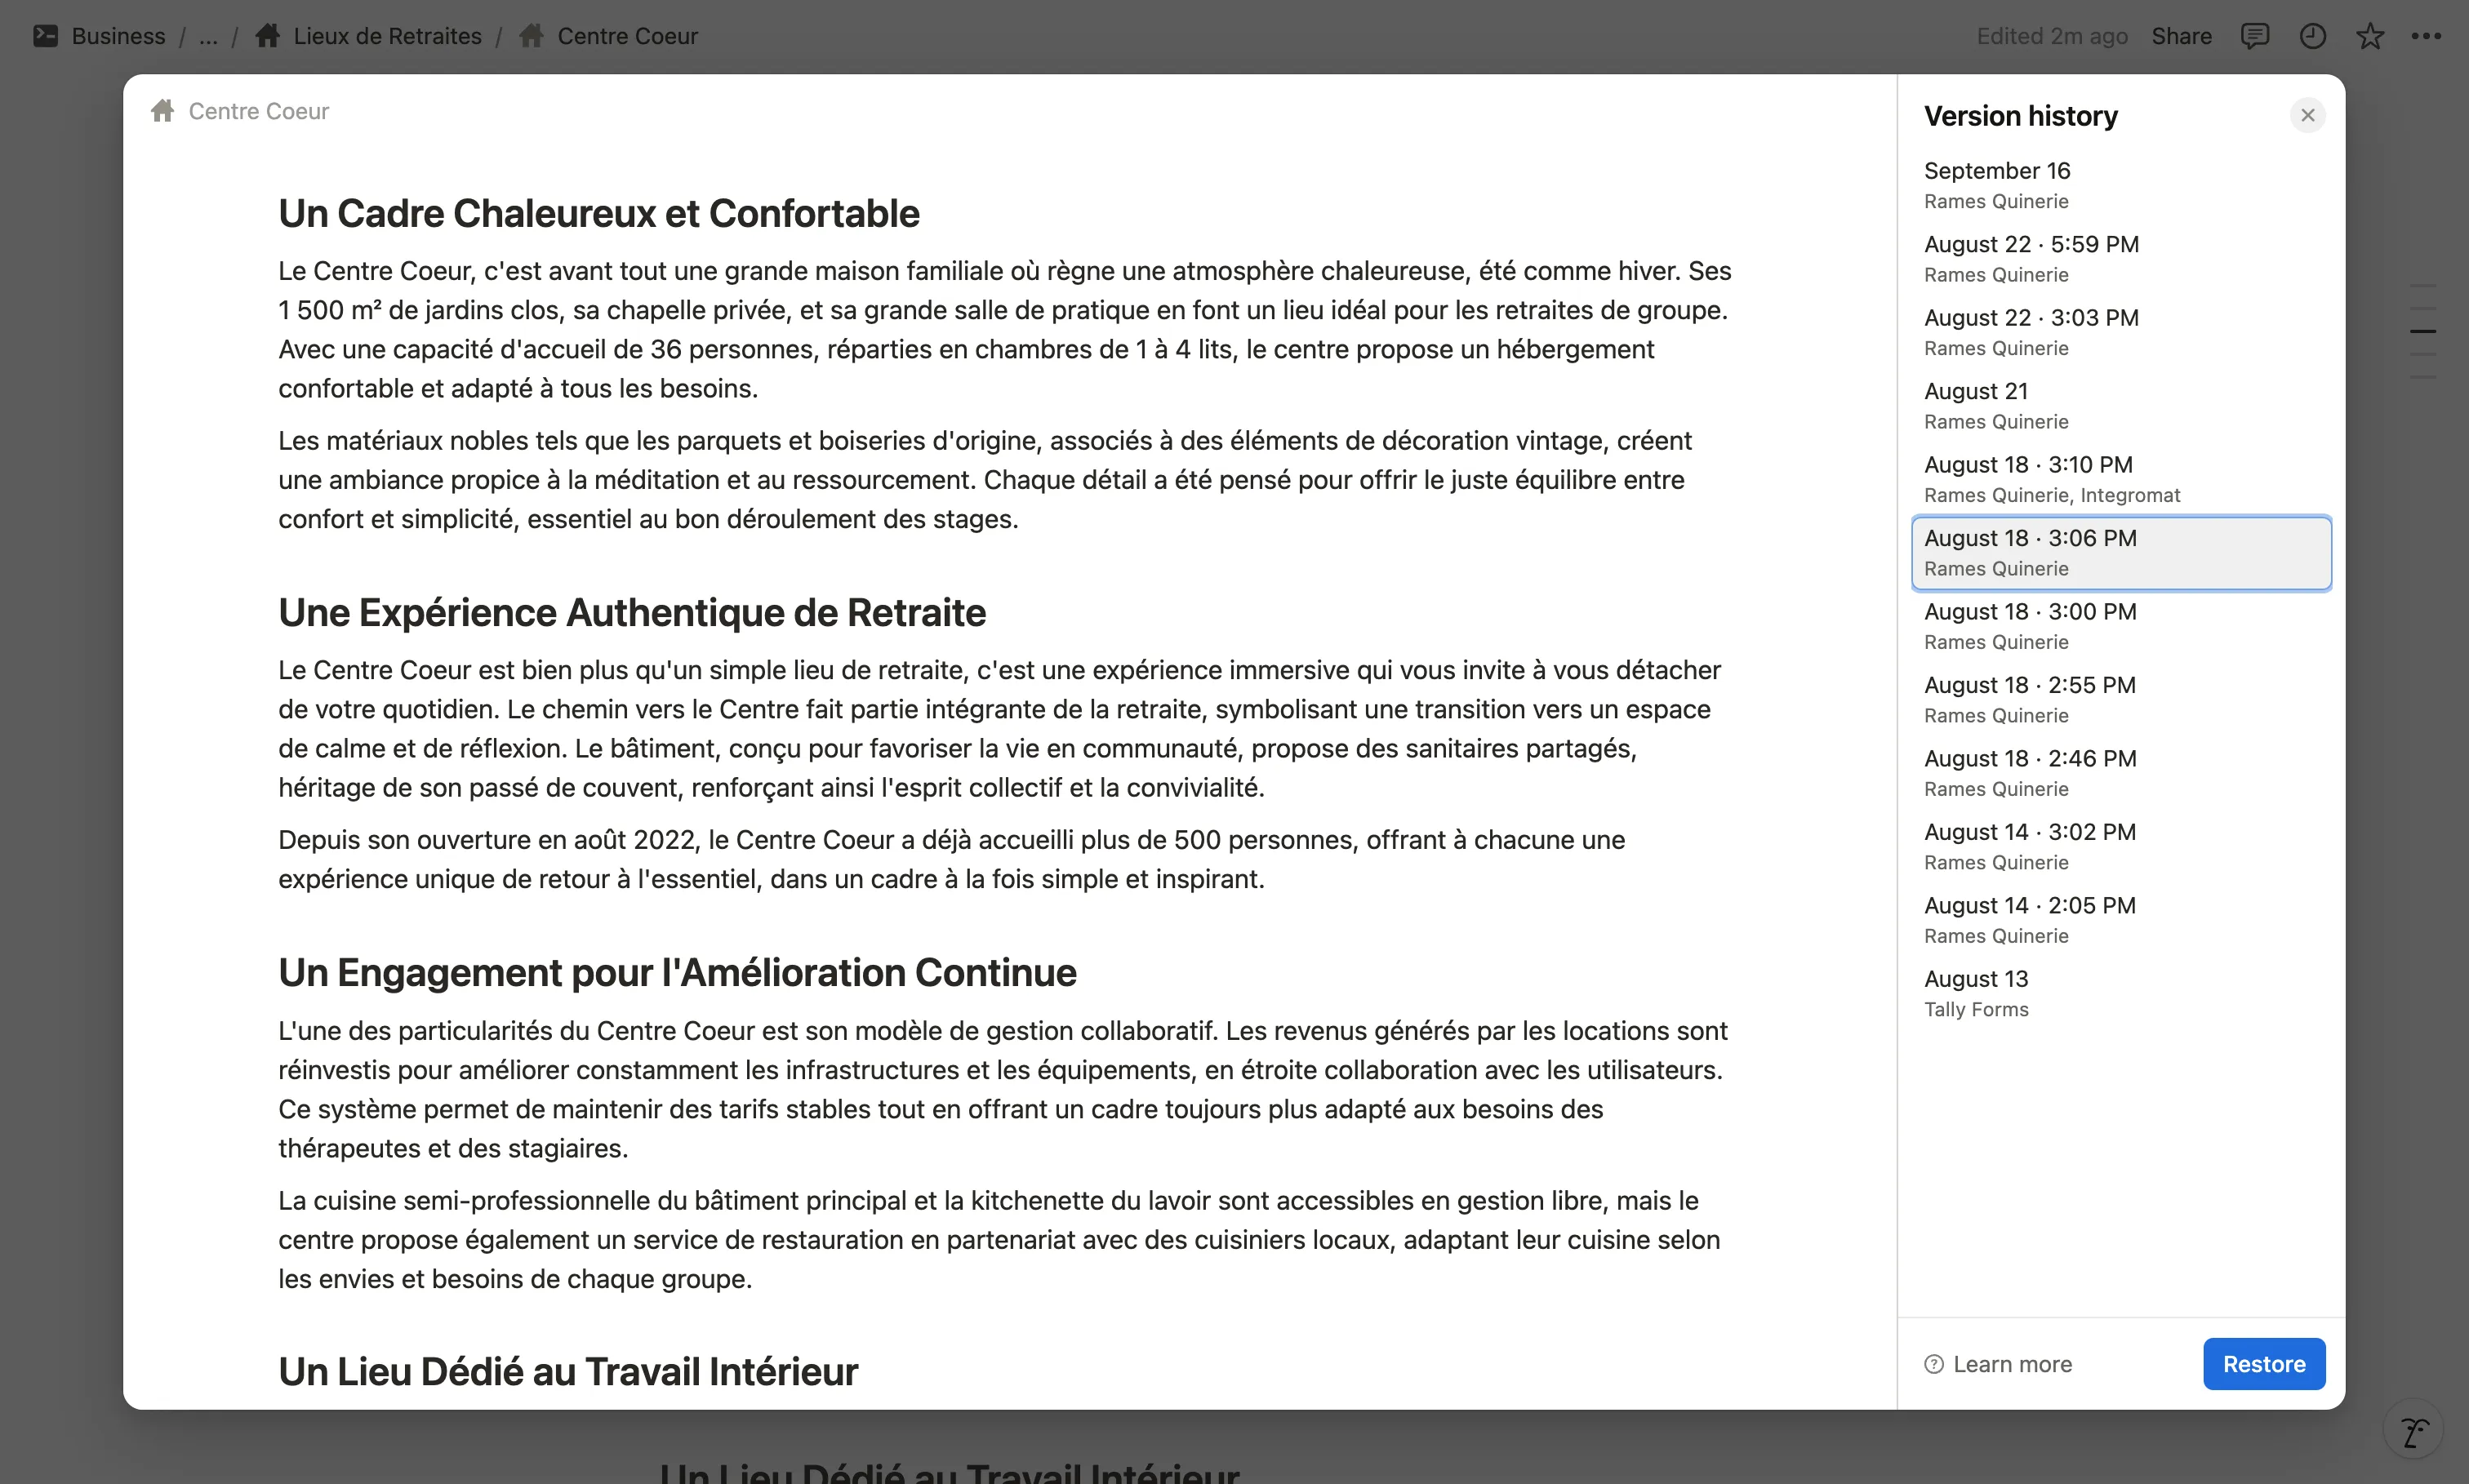
In Notion, every edit and update is meticulously logged, allowing you to view the entire history of a page. This feature is particularly useful for tracking changes over time and reverting to previous versions if necessary. To access the page history, click on the three dots in the upper-right corner of the page and select 'Version History.'
Version history in Notion is straightforward. You can see who made changes, what changes were made, and when they were made. Here's a simple breakdown of the information you can expect to find in the page history:
- Editor: The person who made the change.
- Date and Time: When the change was made.
- Change Description: A brief overview of what was altered.
Notion's page history function acts as a safety net, ensuring that no piece of information is ever truly lost. It empowers teams to collaborate with confidence, knowing that they can always backtrack if needed.
By default, page history is limited to 30 days, but it can be more if you’re on the Business or Enterprise plan.
Conclusion
In conclusion, mastering file management in Notion is essential for organizing and optimizing your workspace. Understanding Notion's Cloud Storage, file storage capabilities, workspace exportation, and page retrieval methods such as trash and page history is key to maximizing productivity and efficiency. By implementing these strategies, users can effectively manage their files, collaborate seamlessly, and streamline their workflow within Notion.
Start now & create your Notion account 🙃
(#NotionPartner)
Exporting a Notion workspace involves creating a backup of all the content within the workspace in a format that can be imported into other platforms. To begin the export, navigate to Settings → Workspace settings → Select the 'Export all workspace content' option.
Yes, users can view the history of a page in Notion by clicking on the three dots menu on the page and selecting 'Version History'. This feature allows users to track changes made to the page over time.
Notion's Cloud Storage allows users to upload and store files directly within Notion, providing easy access to files within the workspace.
Latest posts
Friends of Notion


Templates that (truly) work

